
This guide will help you setup a Kubernetes cluster with one or more Raspberry Pis. This method can help you learn and experiment with Kubernetes and its features in a reproducible and cost-effective way.
Requirements
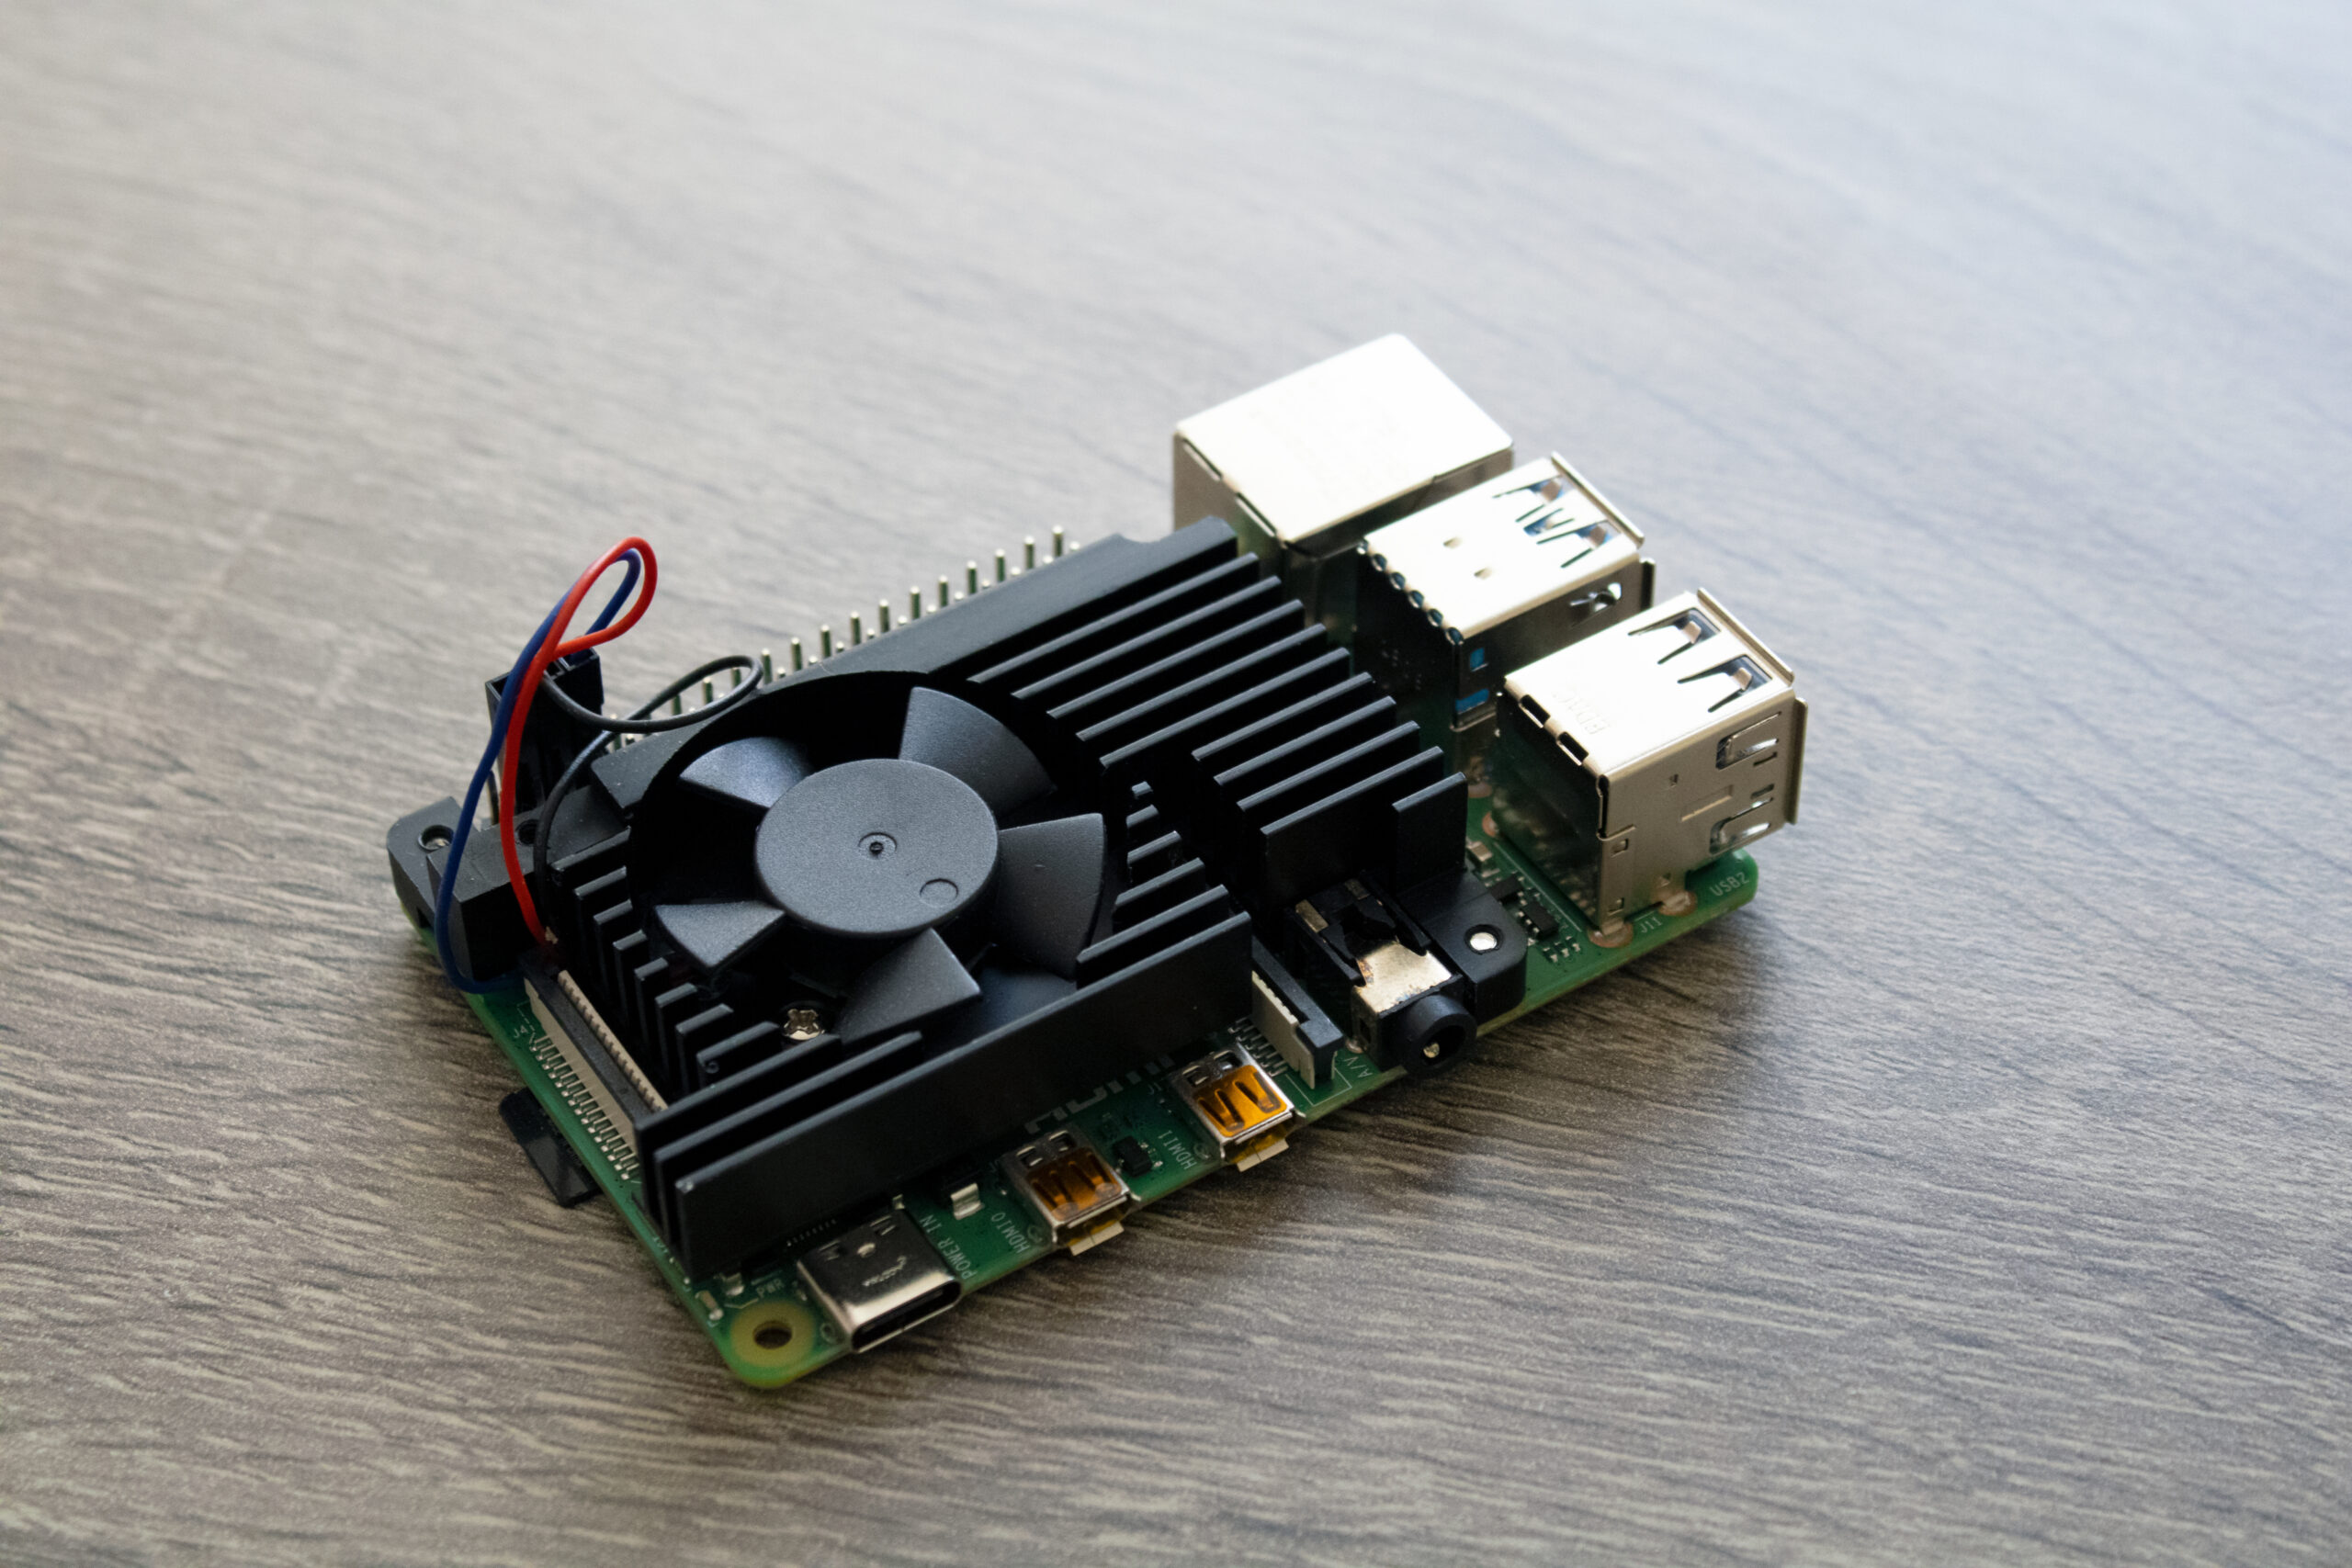
- One or more Raspberry Pi 4+ with 8 GB RAM
- Raspberry Pi OS (64 bit) or similar installed on each device
- Connected to a network (Wi-Fi or LAN)
- Able to SSH into the devices
Prepare your Raspberry Pi devices
The kubelet and the underlying container runtime need to interface with cgroups to enforce resource management for pods and containers which includes cpu/memory requests and limits for containerized workloads. By default, the Raspberry Pi OS does not enable all the required cgroup flags for the Kubelet and the Container Runtime Interface to operate.
For the purpose of this installation, we are interested in enabling the following flags:
- cgroup_enable=cpuset
- cgroup_enable=memory
- cgroup_memory=1
To accomplish this, we can add them to /boot/cmdline.txt by executing the following command in a terminal:
$ echo " cgroup_enable=cpuset cgroup_enable=memory cgroup_memory=1" | sudo tee -a /boot/cmdline.txtNext, you need to disable swap in all your devices so that the Kubelet can work properly. There are multiple ways of doing this and it depends on the operating system that you are using. In our case, swap can be turned off in Raspberry Pi OS with the commands:
$ sudo dphys-swapfile swapoff
$ sudo systemctl disable dphys-swapfile
As an alternative, you can add an entry to crontab to turn off swap upon a reboot. Run:
$ sudo crontab -eAppend the line:
@reboot /sbin/swapoff -aFinally, reboot each of your devices so that the required changes take effect.
Container Runtime Interface (CRI)
The CRI is a plugin interface which enables the Kubelet to use a wide variety of container runtimes, without having a need to recompile the cluster components. The most popular CRIs for Linux are:
| Runtime | Path to Unix domain socket |
|---|---|
| Containerd | unix:///var/run/containerd/containerd.sock |
| CRI-O | unix:///var/run/crio/crio.sock |
| Docker Engine (using cri-dockerd) | unix:///var/run/cri-dockerd.sock |
Install and configure prerequisites
The following steps apply common settings for Kubernetes nodes on Linux.
Forwarding IPv4 and letting iptables see bridged traffic
Run the following commands:
$ cat <<EOF | sudo tee /etc/modules-load.d/k8s.conf
overlay
br_netfilter
EOF

$ sudo modprobe overlay
$ sudo modprobe br_netfilter

# sysctl params required by setup, params persist across reboots
$ cat <<EOF | sudo tee /etc/sysctl.d/k8s.conf
net.bridge.bridge-nf-call-iptables  = 1
net.bridge.bridge-nf-call-ip6tables = 1
net.ipv4.ip_forward               = 1
EOF

# Apply sysctl params without reboot
$ sudo sysctl --system
Verify that the br_netfilter, overlay modules are loaded by running below instructions:
$ lsmod | grep br_netfilter
$ lsmod | grep overlay
Verify that the net.bridge.bridge-nf-call-iptables, net.bridge.bridge-nf-call-ip6tables, net.ipv4.ip_forward system variables are set to 1 in your sysctl config by running below instruction:
$ sysctl net.bridge.bridge-nf-call-iptables net.bridge.bridge-nf-call-ip6tables net.ipv4.ip_forwardInstall Containerd
There are multiple ways of installing Containerd. For this guide, we are leveraging apt-get and the packages distributed by docker for debian. For other distros refer to the documentation of Containerd: https://github.com/containerd/containerd/blob/main/docs/getting-started.md
Make sure that you remove previous installations if this is not a new machine.
$ sudo apt-get remove docker docker-engine docker.io containerd runcSetup the repository
1. Update the apt package index and install packages to allow apt to use a repository over HTTPS:
$ sudo apt-get update
$ sudo apt-get install -y apt-transport-https ca-certificates curl gnupg
2. Add Docker’s official GPG key:
$ sudo install -m 0755 -d /etc/apt/keyrings
$ curl -fsSL https://download.docker.com/linux/debian/gpg | sudo gpg --dearmor -o /etc/apt/keyrings/docker.gpg
$ sudo chmod a+r /etc/apt/keyrings/docker.gpg
3. Set up the repository:
$ echo \
  "deb [arch="$(dpkg --print-architecture)" signed-by=/etc/apt/keyrings/docker.gpg] https://download.docker.com/linux/debian \
  "$(. /etc/os-release && echo "$VERSION_CODENAME")" stable" | \
  sudo tee /etc/apt/sources.list.d/docker.list > /dev/null
Install containerd.io
To install the latest version, run:
$ sudo apt-get update
$ sudo apt-get install -y containerd.io
You have now successfully installed containerd.io.
Note: This setup is not using the docker engine to keep required packages to the minimum and because we will not be building images in the worker nodes.
Configure containerd.io
1. Create a default configuration:
$ containerd config default | sudo tee /etc/containerd/config.toml > /dev/null2. Open the configuration file in your preferred editor (for vi):
$ sudo vi /etc/containerd/config.toml3. Find the section [plugins.”io.containerd.grpc.v1.cri”.containerd.runtimes.runc.options] and update the SystemdCgroup value to true. The containerd plugin should look like:
 [plugins."io.containerd.grpc.v1.cri".containerd.runtimes]

        [plugins."io.containerd.grpc.v1.cri".containerd.runtimes.runc]
          base_runtime_spec = ""
          cni_conf_dir = ""
          cni_max_conf_num = 0
          container_annotations = []
          pod_annotations = []
          privileged_without_host_devices = false
          runtime_engine = ""
          runtime_path = ""
          runtime_root = ""
          runtime_type = "io.containerd.runc.v2"

          [plugins."io.containerd.grpc.v1.cri".containerd.runtimes.runc.options]
            BinaryName = ""
            CriuImagePath = ""
            CriuPath = ""
            CriuWorkPath = ""
            IoGid = 0
            IoUid = 0
            NoNewKeyring = false
            NoPivotRoot = false
            Root = ""
            ShimCgroup = ""
            SystemdCgroup = true
4. Make sure that the cri plugin is not disabled. Find the disabled_plugins element at the top of the file and verify that disabled_plugins = []
5. Restart containerd to apply the changes:
$ sudo systemctl restart containerd6. You can check the status of containerd to verify that everything went well:
$ sudo systemctl status containerdNote: If this file is not properly configured, the kubelet process will not start when creating the server with kubeadm.
Installing kubeadm, kubelet and kubectl
You will install these packages on all of your machines:
- kubeadm: the command to bootstrap the cluster.
- kubelet: the component that runs on all of the machines in your cluster and does things like starting pods and containers.
- kubectl: the command line util to talk to your cluster.
1. Download the Google Cloud public signing key:
$ sudo curl -fsSLo /etc/apt/keyrings/kubernetes-archive-keyring.gpg https://dl.k8s.io/apt/doc/apt-key.gpg2. Add the Kubernetes apt repository:
$ echo "deb [signed-by=/etc/apt/keyrings/kubernetes-archive-keyring.gpg] https://apt.kubernetes.io/ kubernetes-xenial main" | sudo tee /etc/apt/sources.list.d/kubernetes.list
3. Update apt package index, install kubelet, kubeadm and kubectl, and pin their version:
$ sudo apt-get update
$ sudo apt-get install -y kubelet kubeadm kubectl
$ sudo apt-mark hold kubelet kubeadm kubectl
The kubelet is now restarting every few seconds, as it waits in a crashloop for kubeadm to tell it what to do.
Create a single node cluster
Create a configuration file that will contain the basic instructions for kubeadm to create the cluster. In a file single_node_cluster.yml add:
kind: ClusterConfiguration
apiVersion: kubeadm.k8s.io/v1beta3
networking:
  podSubnet: "10.244.0.0/16" # --pod-network-cidr
  dnsDomain: "cluster.local"
  serviceSubnet: "10.96.0.0/16"
clusterName: "mycluster"
---
kind: KubeletConfiguration
apiVersion: kubelet.config.k8s.io/v1beta1
cgroupDriver: systemd
With these settings, we’ll create a cluster with the name mycluster and instruct the kubelet to use the systemd driver for the cgroups. The settings also provide basic networking configuration that will be necessary when installing a network plugin.
You can learn more about these options and networking configuration in: https://kubernetes.io/docs/reference/setup-tools/kubeadm/kubeadm-init/
Initialize the control-plane node
If you followed all the instructions, you should be ready to initialize your first control-plane node. In a terminal run:
$ sudo kubeadm init --config single_node_cluster.ymlIf all went well, after it finishes you shall see:
Your Kubernetes control-plane has initialized successfully!

To start using your cluster, you need to run the following as a regular user:

  mkdir -p $HOME/.kube
  sudo cp -i /etc/kubernetes/admin.conf $HOME/.kube/config
  sudo chown $(id -u):$(id -g) $HOME/.kube/config

You should now deploy a Pod network to the cluster.
Run "kubectl apply -f [podnetwork].yaml" with one of the options listed at:
  /docs/concepts/cluster-administration/addons/

You can now join any number of machines by running the following on each node
as root:

kubeadm join <control-plane-host>:<control-plane-port> --token <token> --discovery-token-ca-cert-hash sha256:<hash>Note: if you want to create a multi node cluster, repeat all the steps until here on your worker nodes. Then, execute the last command that you obtained in this step which has the instructions on how to join the cluster from a second node (including the secrets which have been redacted from this guide). For example, on a second node, execute:
$ sudo kubeadm join <control-plane-host>:<control-plane-port> --token <token> --discovery-token-ca-cert-hash sha256:<hash>Kubectl for local user
To make kubectl work for your non-root user, run these commands, which are also part of the kubeadm init output:
$ mkdir -p $HOME/.kube
$ sudo cp -i /etc/kubernetes/admin.conf $HOME/.kube/config
$ sudo chown $(id -u):$(id -g) $HOME/.kube/config
Test that you can run kubectl commands against your control-plane node:
$ kubectl get pods --all-namespacesYou would see all the pods across namespaces:
NAMESPACE     NAME                                 READY   STATUS    RESTARTS   AGE
kube-system   coredns-5d78c9869d-dz2pq                0/1     Pending   0          4m9s
kube-system   coredns-5d78c9869d-mdjqk                0/1     Pending   0          4m9s
kube-system   etcd-mycluster                         1/1     Running   0          4m22s
kube-system   kube-apiserver-mycluster                1/1     Running   0          4m23s
kube-system   kube-controller-manager-mycluster        1/1     Running   0          4m25s
kube-system   kube-proxy-2n4t2                       1/1     Running   0          4m9s
kube-system   kube-scheduler-mycluster                1/1     Running   0          4m25s
Control plane node isolation (optional)
By default, your cluster will not schedule Pods on the control plane nodes for security reasons. If you want to be able to schedule Pods on the control plane nodes, for example, if you only want to work with a single node cluster, run the following command to taint your control-plane node and remove the restriction:
$ kubectl taint nodes --all node-role.kubernetes.io/control-plane-The output will look something like:
node "mycluster" untaintedNote: this is not recommended in a production-like environment and is highly preferable to have a multi node cluster, where you have one node as the control plane and the other as a worker node.
Container Network Interface
The network model is implemented by the container runtime on each node. The most common container runtimes use Container Network Interface (CNI) plugins to manage their network and security capabilities. Many different CNI plugins exist from many different vendors.
There are numerous networking addons available, see: https://kubernetes.io/docs/concepts/cluster-administration/addons/#networking-and-network-policy.
For this cluster setup, we’ll be using Flannel. Documentation can be found in: https://github.com/flannel-io/flannel#deploying-flannel-manually
Download the default configuration file located in: https://github.com/flannel-io/flannel/releases/latest/download/kube-flannel.yml
$ curl -L -o kube-flannel.yml -s https://github.com/flannel-io/flannel/releases/latest/download/kube-flannel.ymlOpen the file in your preferred editor and update the default network cidr to match the podSubnet of the single_node_cluster.yml. For this example, the change in kube-flannel would look like:
net-conf.json: |
    {
      "Network": "10.244.0.0/16",
      "Backend": {
        "Type": "vxlan"
      }
    }
Install the network addon:
$ kubectl apply -f kube-flannel.yml
Afterwards, you shall see a new kube-flannel namespace, a kube-flannel-ds pod, and the coredns pods from the kube-system namespace, will become healthy.
This indicates that your cluster is ready to accept work and pods can communicate with each other.
NAMESPACE      NAME                                 READY   STATUS    RESTARTS   AGE
kube-flannel   kube-flannel-ds-cc94c                   1/1     Running   0          36s
kube-system    coredns-5d78c9869d-dz2pq                1/1     Running   0          17m
kube-system    coredns-5d78c9869d-mdjqk                1/1     Running   0          17m
kube-system    etcd-mycluster                         1/1     Running   0          18m
kube-system    kube-apiserver-mycluster                1/1     Running   0          18m
kube-system    kube-controller-manager-mycluster        1/1     Running   0          18m
kube-system    kube-proxy-2n4t2                       1/1     Running   0          17m
kube-system    kube-scheduler-mycluster                1/1     Running   0          18m